Design Mistakes That Ruin Custom Team Shirts
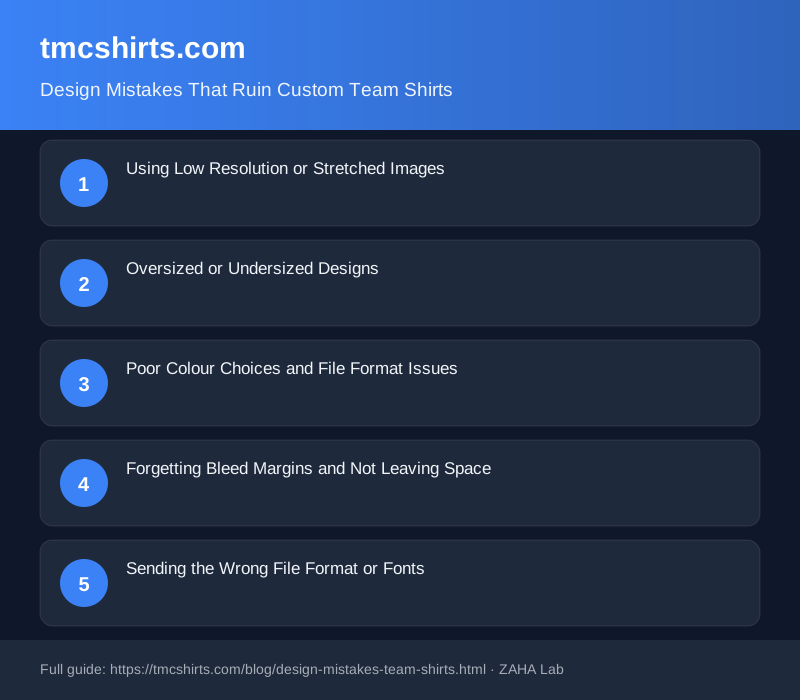
A stunning design on screen can turn into a blurry mess on a t-shirt. Poor design choices cost teams hundreds of pounds and leave them with unusable inventory. The good news: most mistakes are preventable with just a few technical adjustments before you place your order.
Using Low Resolution or Stretched Images
Print resolution needs to be 300 DPI (dots per inch) at the final print size, not screen resolution of 72 DPI. When you scale up a website image or social media graphic to print size, it becomes pixelated and blurry. If your logo is 2cm on a 300 DPI file, it must be at least 600 x 600 pixels. Smaller designs can survive at lower DPI, but anything larger than 10cm across needs proper resolution to avoid visible grain.
Oversized or Undersized Designs
Designs that cover the entire shirt front will wrinkle, crack, and fade faster than smaller prints. The industry standard is no larger than 25cm wide on a front chest print. Back prints work well at 30-35cm. Text smaller than 5mm becomes unreadable after one wash. For team names and numbers, 7-10cm is the sweet spot. Use design software like Canva Pro to visualise your design to scale on a shirt mockup before ordering.
Poor Colour Choices and File Format Issues
RGB colour mode (used on screens) doesn't translate to print colours. You must convert files to CMYK. Bright neon colours in RGB will print as dull, muddy versions. White designs on white shirts need a print method change, like screen printing with a white underbase, not digital transfer. Avoid putting colours that are too similar next to each other, as the print edges blur together. If using heat transfer or DTG, download the colour chart from your printer and choose from approved Pantone numbers.
Forgetting Bleed Margins and Not Leaving Space
Print registration (alignment) can shift by 2-3mm on the press. Never place important design elements within 5mm of your design edge. If your logo touches the edge, it may be cut off or have white gaps around it. The safe area is roughly 1cm inside your design boundary. Sleeve prints need extra care because of shirt seams, so keep designs at least 2cm from seams.
Sending the Wrong File Format or Fonts
Always send vector files (PDF, EPS, or AI) for logos and graphics, not JPG or PNG. Printers cannot scale raster images without losing quality. If your file uses embedded fonts that the printer doesn't have, text renders in a default font. Provide all fonts separately or convert text to outlines. Send a high-resolution PDF proof before bulk printing to catch font and colour shifts.
FAQ
What DPI do I need for small logo prints on a shirt?
Logos smaller than 5cm can work at 150-200 DPI, but 300 DPI is safest. Anything smaller than 2cm should ideally be a vector file so it scales without quality loss.
Can I use a JPG from Google Images for my team shirt design?
No. Web images are too low resolution and copyrighted. Use vector logos from your brand, hire a designer, or purchase a licensed template from sites like Etsy.
Why does my dark team shirt design look faded after washing?
Low-quality prints or incorrect ink-to-fabric ratios fade quickly. Screen printing handles dark shirts better than heat transfer. If using heat transfer, ensure the print is applied with enough heat and pressure, and always wash inside-out in cold water.
Should I design for a specific shirt size?
No. Design at your final print size (e.g., 20cm wide) at 300 DPI, not shirt size. The same design goes on Small, Medium, and Large shirts. Placement varies slightly, but the design itself stays the same.
What if my file is too large to email?
Use cloud storage like Google Drive, Dropbox, or WeTransfer. Most printers also accept files through their online portals or FTP upload systems. Contact your printer for their preferred file transfer method.